 |
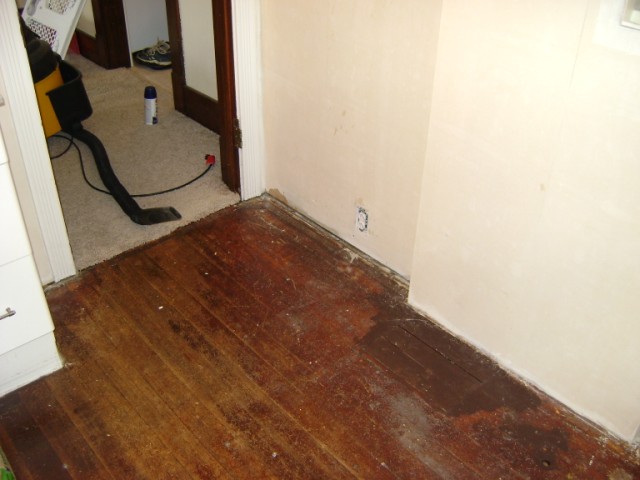
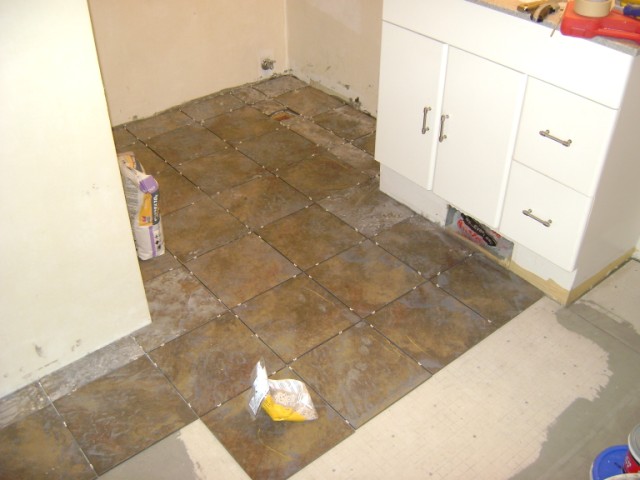
A shot of the floor at an early stage of construction. |
 |
This is a straight down shot of the floor between the vanity and the door immediately
after the blue carpet and pad were removed. Thinking about carpet in any bathroom is a
little sickening, but actually removing it, getting under it, is breathtakingly frightening.
I'm sure I don't have to explain. But aside from the foulness of bathroom carpet, it was
covering up some pretty interesting carpentry. This hole to the basement was sealed from
the bottom and then filled with thinset before the backerboard could go down. |
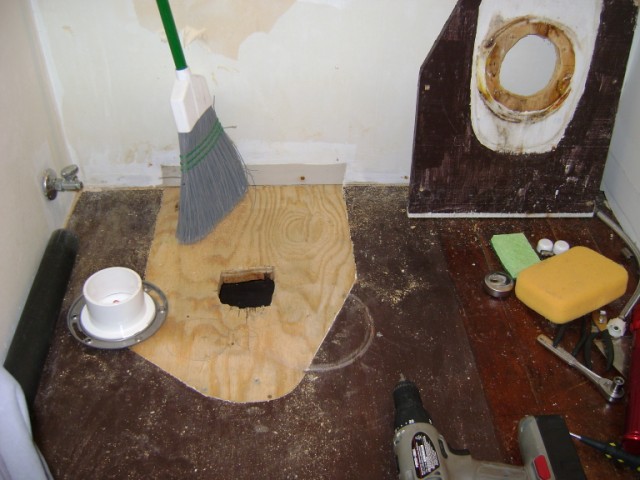 |
An early stage of construction preparing the floor around the toilet area. I removed the
toilet from its moorings, but there was a 3-inch raised platform the toilet sat on. The oddly-shaped
outline of the platform is visible. You can see the platform at the right, or at least some part of it.
I'm not sure just why this was installed, maybe to make it a
bit easier to stand up. I assume sitting down is handled mostly by gravity, but it would indeed
be an awkward place to be incapacitated. In any case, the platform had to go. |
 |
Wide angle, same hole. |
 |
After the subfloor was installed. |
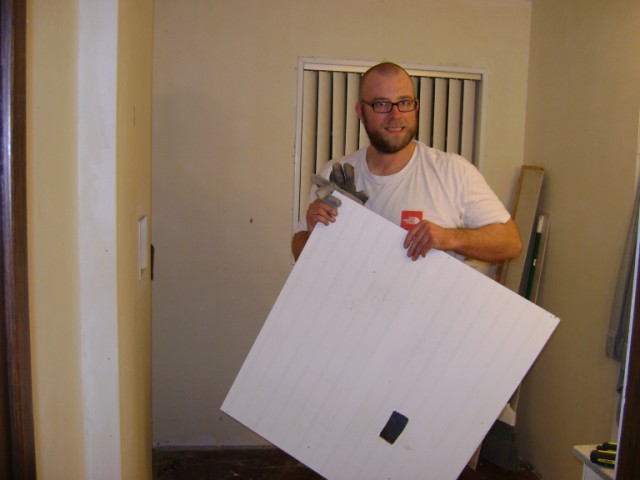 |
Here I am holding a bit of construction material. |
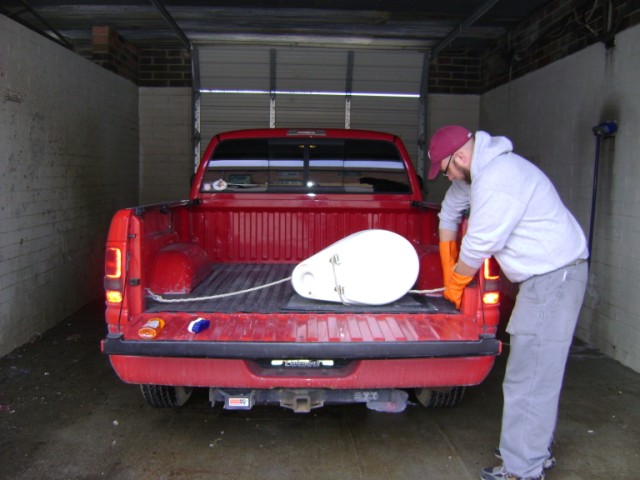 |
We had to remove the toilet to do the floor. It sat on a rubber mat in the living room for a few
weeks, then I had the idea to really get it clean while it was accessible. I figured I'd haul it
out into the back yard and hose it off, but that's thinking small. Instead, I brought it to my local
do-it-yourself quarter car wash and power washed it. The folks at the car wash thought I was pretty
much certifiable, but it really, really got the gunky out of every crack and crevice. I highly
recommend this if you have the chance to do it. |
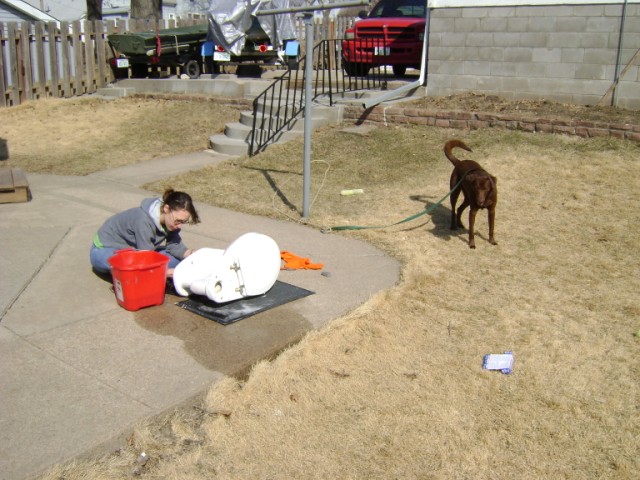 |
Tricia did some finishing touches and polishing on the back patio. It's sort of like
Where's Waldo to find Lingo in these pics. He's not in all of the pics, but most of them. |
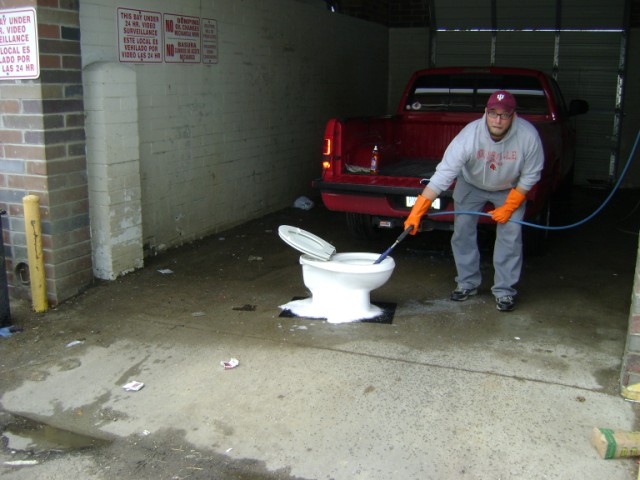 |
Power washing the toilet. |
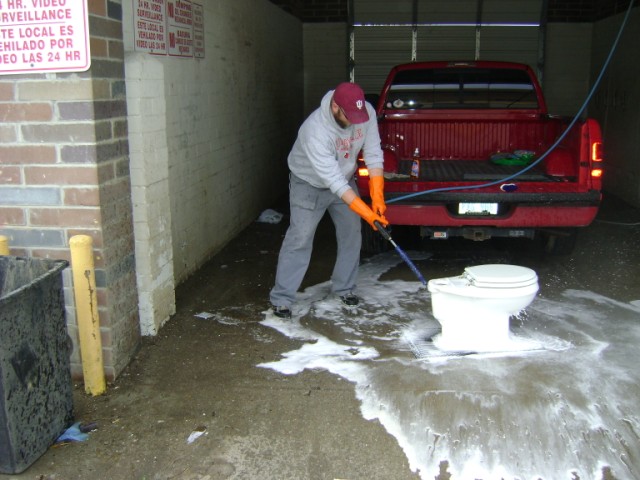 |
Power washing the toilet. Notice all the soap. We didn't skimp on that step. |
 |
Lingo on the partially done subfloor. We screwed cemetitious backer board to the floor as
the substrate for the tile installation. The first feet to test everything out and inspect
always belong to Lingo. He is relentless. |
 |
About half the tile is laid. |
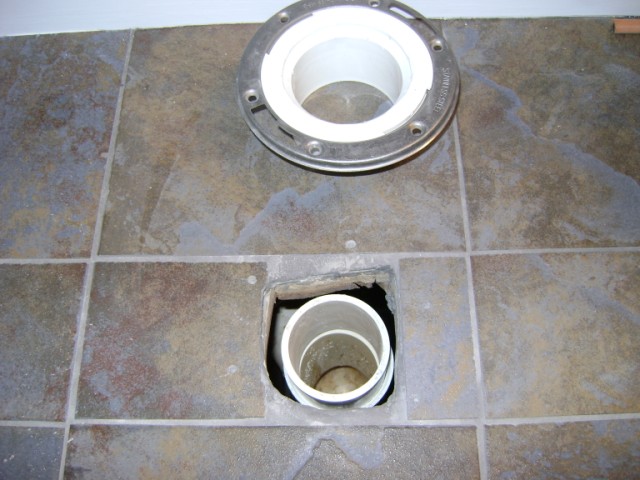 |
This the mounting and hole for the toilet, after the tile is done. The plumbing has
yet to be connected (the flange is sitting behind the hole). If you look close, you can see
six small holes in the tile. I burned out a Dremel high-speed drill going through the
new tile to mount the fitting for the toilet. Needless to say, this is an important
connection, and I'd never done it before. The project used up two masonry bits, and
the Dremel itself eventually gave up the ghost as I was finishing the last hole--but I sent
it to the kind Dremel folks in Wisconsin....and they repaired it for me at no cost. Thanks,
Dremel! A real upstanding company, to be sure. |
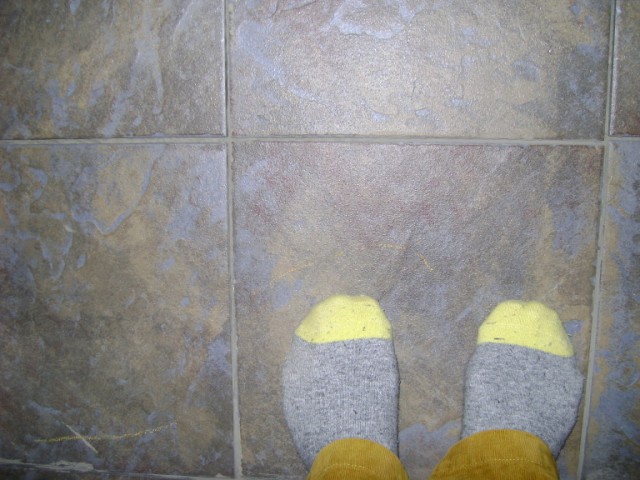 |
Tricia's socked feet on the new tile. Tile and feet go well together. |
 |
As mentioned, Lingo is always involved, so here he is testing out the new tile. |
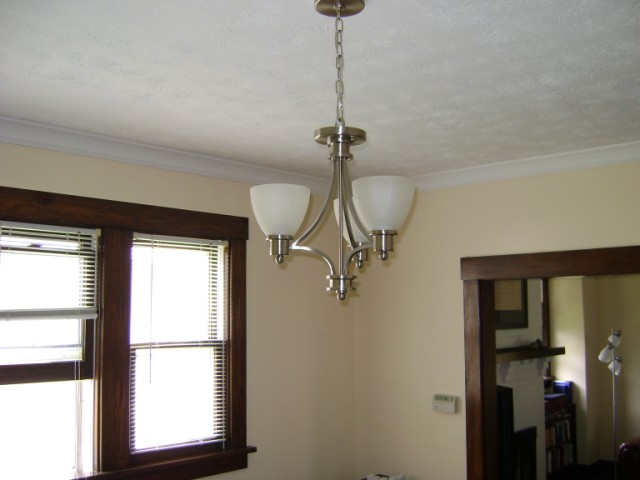 |
A new fixture in the dining room. Obviously not a bathroom project, but it's the first
thing you see when you leave the bathroom. The previous fixture was a hideous chandelier
with plastic beads draped over candelabra bulbs. We were at the (Habitat for Humanity) ReStore
in Omaha and this fixture was only $20 so we couldn't refuse. I like it very much. |
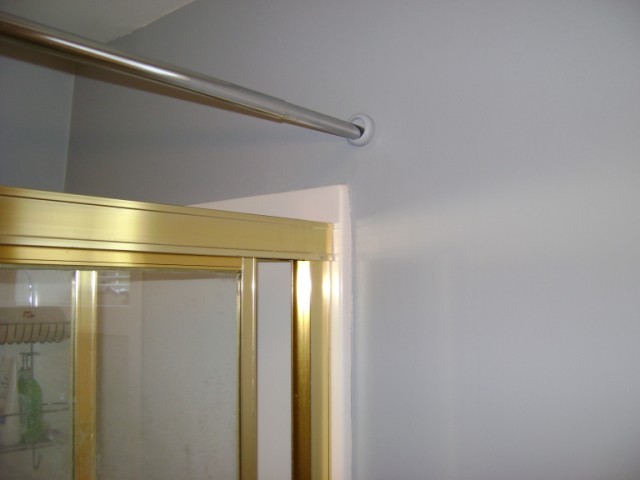 |
We managed to change out or paint pretty much all of the gold-colored fixtures and hardware,
but it wasn't reasonable to install a new set of shower doors just to change out the color.
So Tricia has the idea to put a (redundant) shower curtain over the gold doors. This new
Gold-Covering System (patent pending) is a clever--and cheap--fix. |
 |
A shot of the closed Gold-Covering System. |
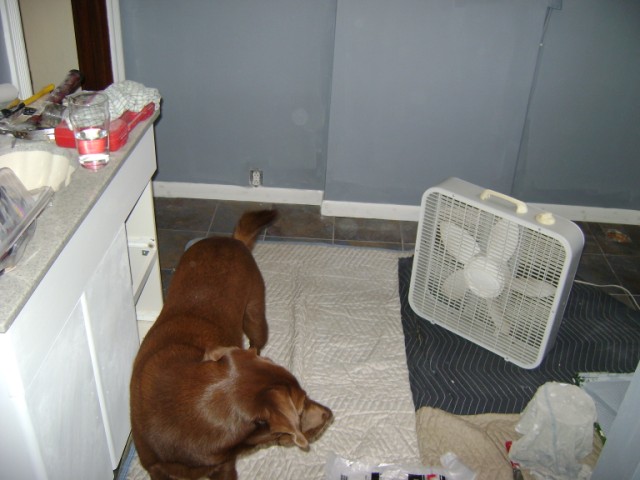 |
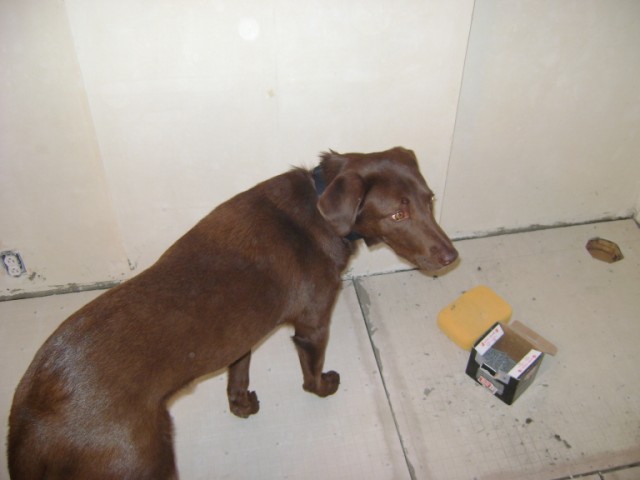
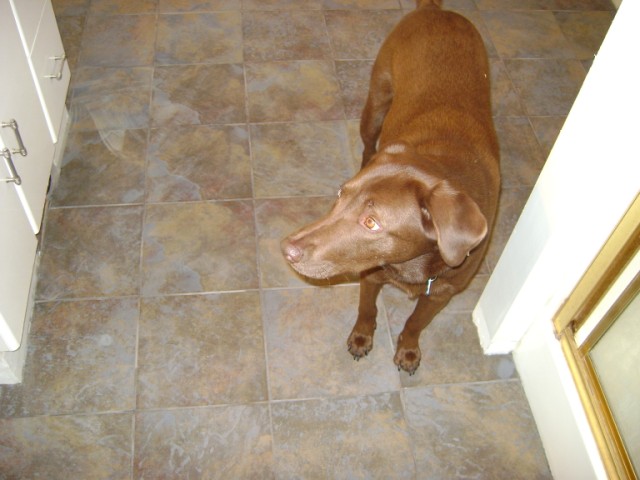
Almost done. The floor is done, but this is mid-painting. It's basically a shameless
shot of the dog again. |
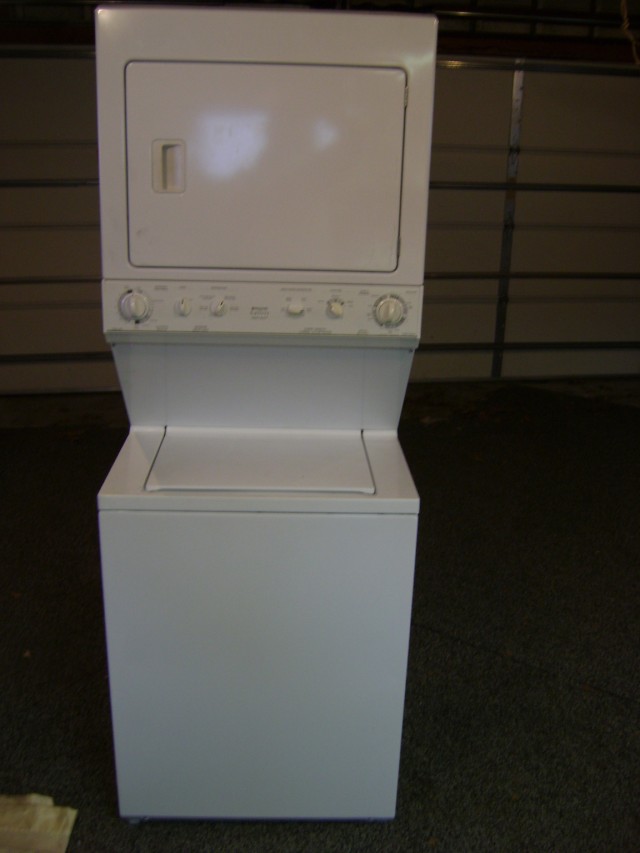 |
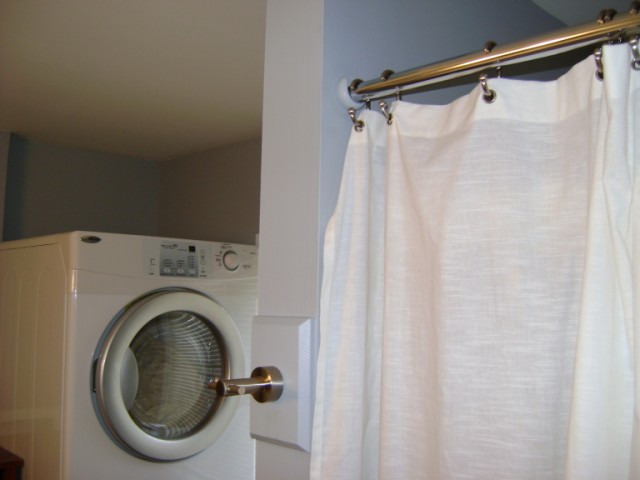
This is the washer and dryer. We can only fit the upright stacked type in the
space. This unit came with the house and worked fine. It was wheeled out into the living
room to put the new floor in, then, the very last step of the new bathroom project was to wheel it
back in, hook it up, and do laundry. We were pretty pumped to finally do laundry
after a few weeks of no washer-dryer in the house, so we piled in a bunch of dirty clothes and
fired it up. A fairly substantial river of water proceeded to pour out onto the new floor.
I'm the curious sort, so I decided to try to figure out what the problem was (see below). |
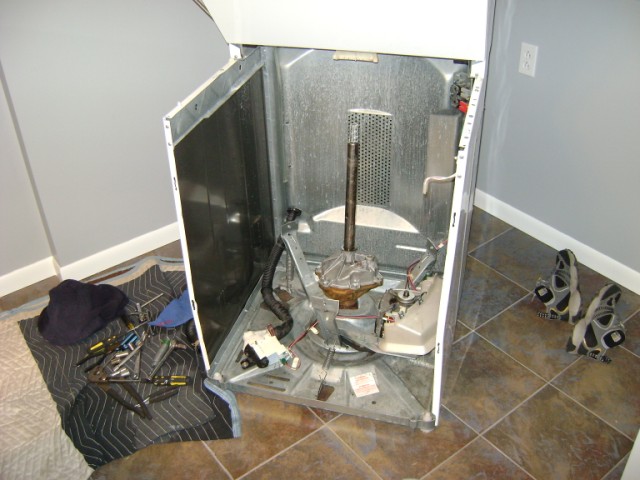 |
It took me a few hours, but I managed to get it pretty much all apart. |
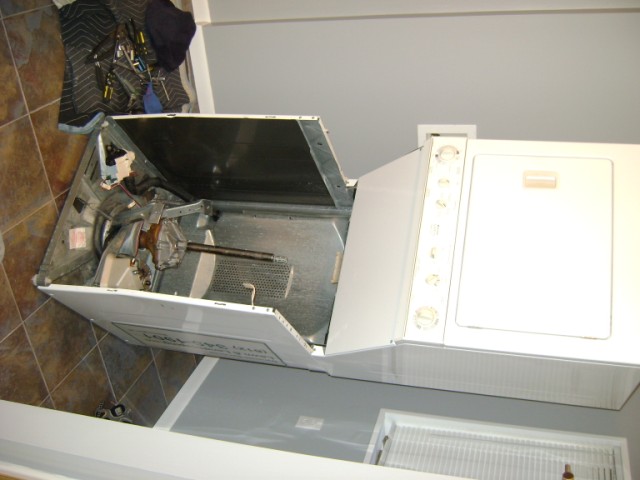 |
Another pic of it apart. I was able to get it apart, but I couldn't really know why it was
leaking, and in any event couldn't really be confident that any repairs I might make would
hold up. I was kind of hoping to find an obvious hole or worn out bolt or something, but nothing
like that was obvious. |
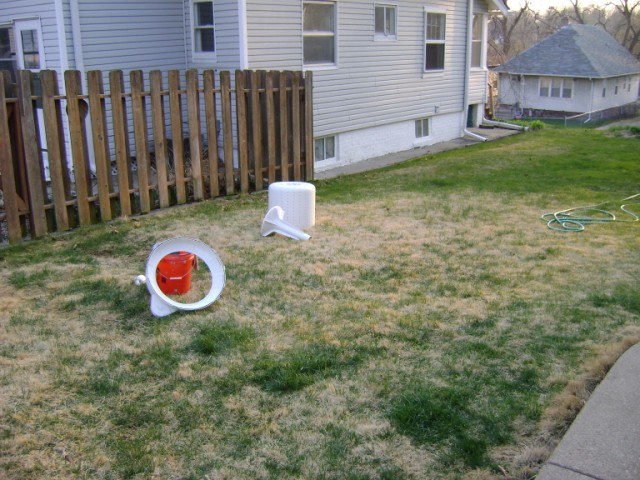 |
These are the inside drums in the South Lawn (hey, the White House has one, so why can't I, too?).
Unlike the toilet, these didn't require powerwashing, so we just scrubbed them in the yard.
Nonetheless, it was pretty remarkable how utterly filthy some of the inside parts were. We're not
particularly hard on it, and everyone who uses it has an office job (except Lingo, who has no
job to speak of), so we don't really get our clothes stinking filthy.
There was dog hair, various chunks of dirt, a large machine screw that didn't belong to the machine,
and even a little plastic army man (which could not have been introduced to the washer since I've
owned it). I figured the inside of the washer would, well, wash itself as it did
its business. The dishwasher is pretty clean inside (so far as I know). But, be warned,
your washing machine is not as clean inside as you might think. |
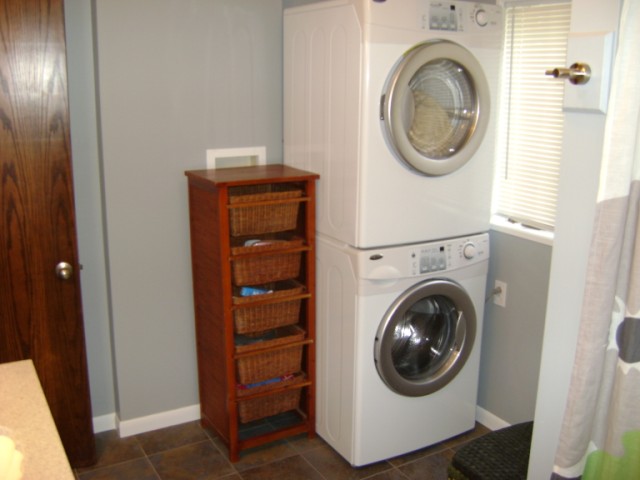 |
The new washer and dryer. These are front load type, which are apparently better because
they load from the front and they spin faster. I didn't even know those were features that
I cared about until the saleswoman explained it several times using differnt words to say
the same thing. It does offer the store the opportunity to charge more while claiming that
you're getting something new-fandangled. Maybe I'm a sucker. (Note: it is also claimed
that these use less water, which is good, but unlikely worth the cost since water and sewer
in Omaha costs less than $75 per annum at our house--and we water the garden, have dish- and
clothes washers, and shower nearly daily. I don't have a pic of it anywhere yet, but we also have
an above-ground pool. The pool is about 4 feet across and 8 inches deep. So far Lingo is the only
creature who's tried it out. I store it in the garage in the winter.) |
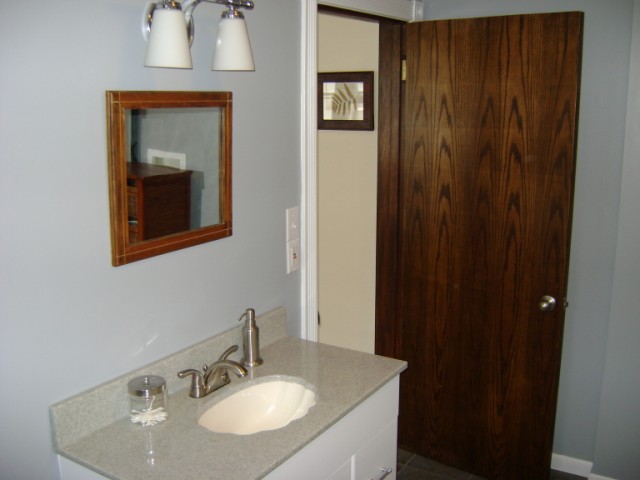 |
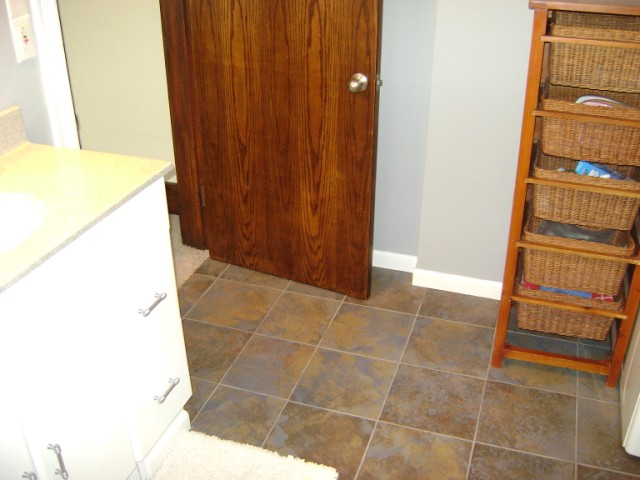
The finished sink and door area. Notice the new light fixture and hardware. Everything
is silver, per Tricia. |
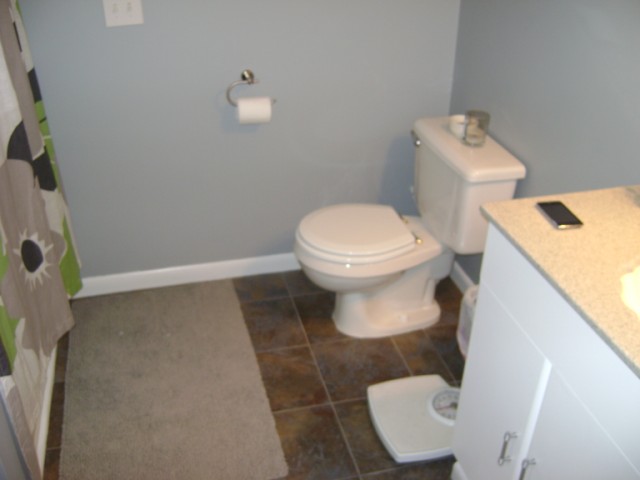 |
An apparently slightly fuzzy pic of the finished toilet area. |
 |
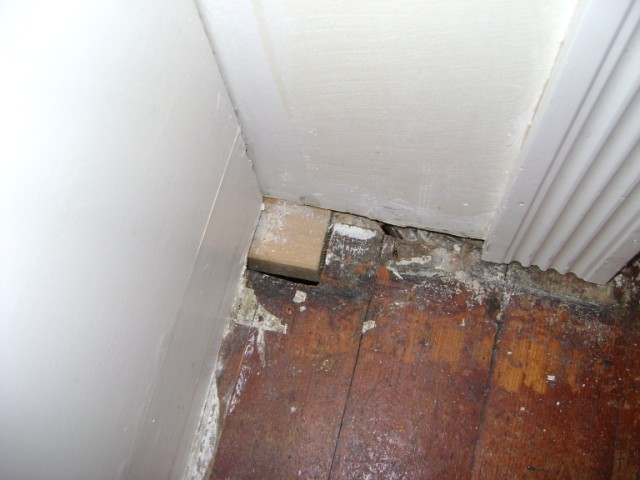
The floor area around the vanity. |